Siemens
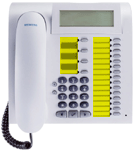
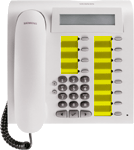
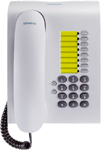
Key Labelling Tool V5.6 | Back
---

How to proceed for printing on prepunched sheets


Step by step
1st step Click the mouse on the required key field (marked yellow) for your system telephone.

--- ---
  Since a new program window opens after a key field has been selected, this procedural description remains visible in the background.
--- ---

Next step Previous step
 

optiPoint


optiPoint 410 advance

optiPoint 500 advance

optiPoint 500
optiPoint 410
optiPoint 400

optiPoint 500 entry
optiPoint 410 entry

optiPoint key module


2nd step
Next step Previous step
When asked what you want to do with the file, select Open it, then click OK.

--- ---
  If the dialog field is not displayed and the Word document not loaded, press the right-hand mouse key above the browser window and store the file on your hard disk. You can then load the Word document by means of a double click in Windows Explorer.
--- ---

The template comes up as a Word form for the selected keypad.
3rd step Next step Previous step
Click the mouse on one of the gray fields in the Word document and then write your labeling text (e.g. a name). Maximum entry: 20 characters (or 40) per field.
4th step  Previous step
First do a trial printout on an ordinary sheet of paper and check the sheet feed direction of your printer with the aid of the arrow symbols on the left edge of the sheet.
Then print your Word document on the prepunched labelling sheet and remove the labelled strips from the backing paper. Insert it in the telephone and cover it with the foil supplied (matt side up).


--- ---
  If you wish to retain your entries for further use, you can store the file with the changes on your hard disk or on a diskette before closing the program window.
--- ---


---
---